|
|
|
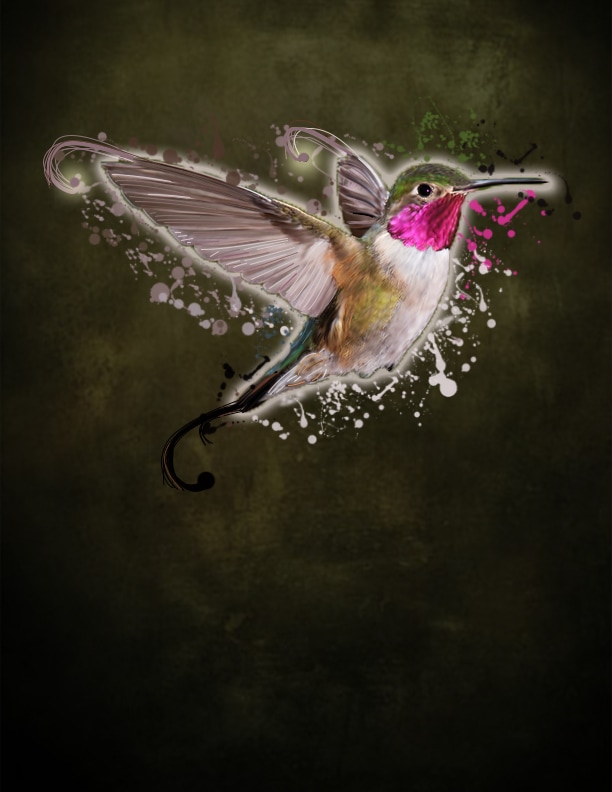
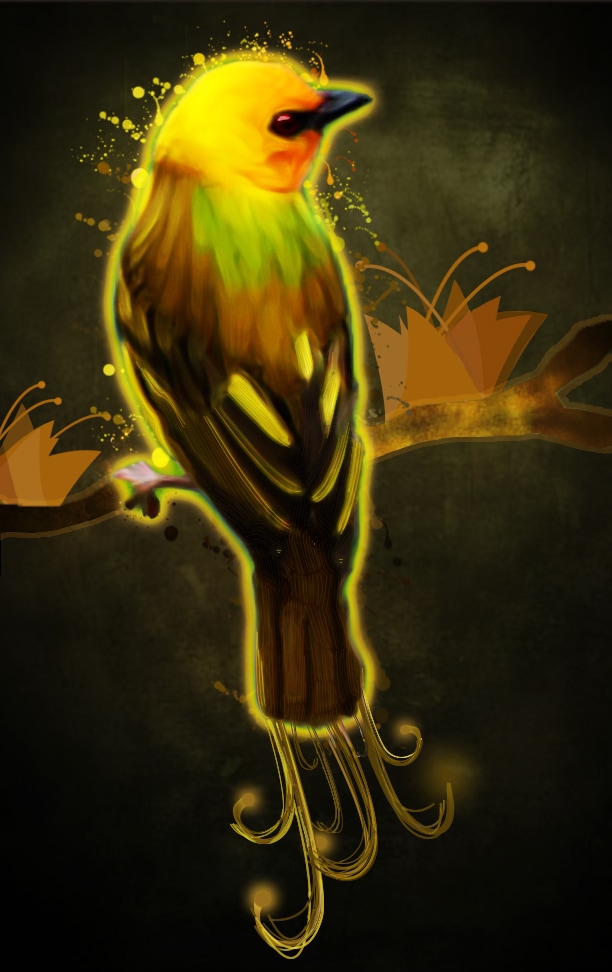
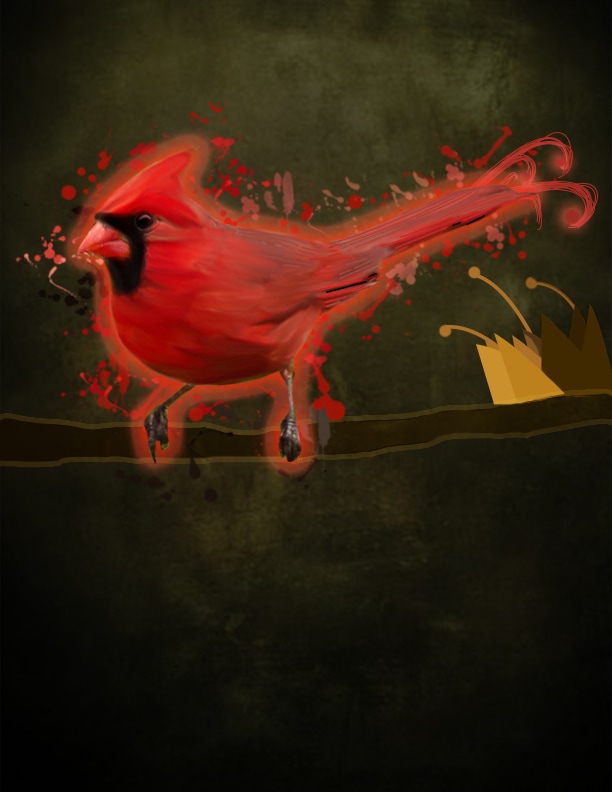
For this project I decided to do the "Night Light Photoshop Tutorial." The basis of this tutorial is making a bird that looks like it is glowing. This tutorial was harder than I thought that it would be. The reason that I chose this project is because I thought that how they made it look like it was painted and the glowing effect it had were really cool. Some of the things that I learned from this tutorial is how to make a picture look like it is painted. You can do this buy going over your picture with the smudge tool. Then create a new layer, set it to overlay with 25% opacity, and go over the image with a brush. The colors you should use should be accent colors. For the bird in the tutorial I used brown and green with a little bit of orange, for the cardinal I used red pink and black, and for the hummingbird I used white, brown, turquoise, black, and purple. This had a very cool effect. Another thing that I really liked this project was because of the paint splatters. I thought this combined with smudging the picture created a really cool. This project was harder than I thought that it would be. I was only able to two of the four that I originally said I would do. The hardest part of this project was the detailing on the feathers with the pen tool and the fancy tails. The reason that this was so hard was because I needed to make about 100 lines for each picture. Plus I had to change the color constantly. Overall I thought that my pictures came out very good. I think that the best one is the Hummingbird. I thought that this was the best because It was the last one that I did so I had the most practice.
